Tools for interacting with an API
There are many tools out there for interacting with a REST API. Depending on your preference there are both GUI and CLI options available. I will go over installing, and some basics of using, the Postman API client – my current preference of GUI clients.
Where can I get Postman?
Postman comes in a couple of different forms. There is a Chrome app version, and a native version for OS X, Windows, and Linux. I recommend downloading the stand alone version instead of the Chrome app. The Chrome app relies on the underlying OS for certificate handling. If you do a lot of work on devices with self-signed certificates, you will need to install and trust certificates in your OS certificate store. You can download the Postman client from their website.
Building your API call
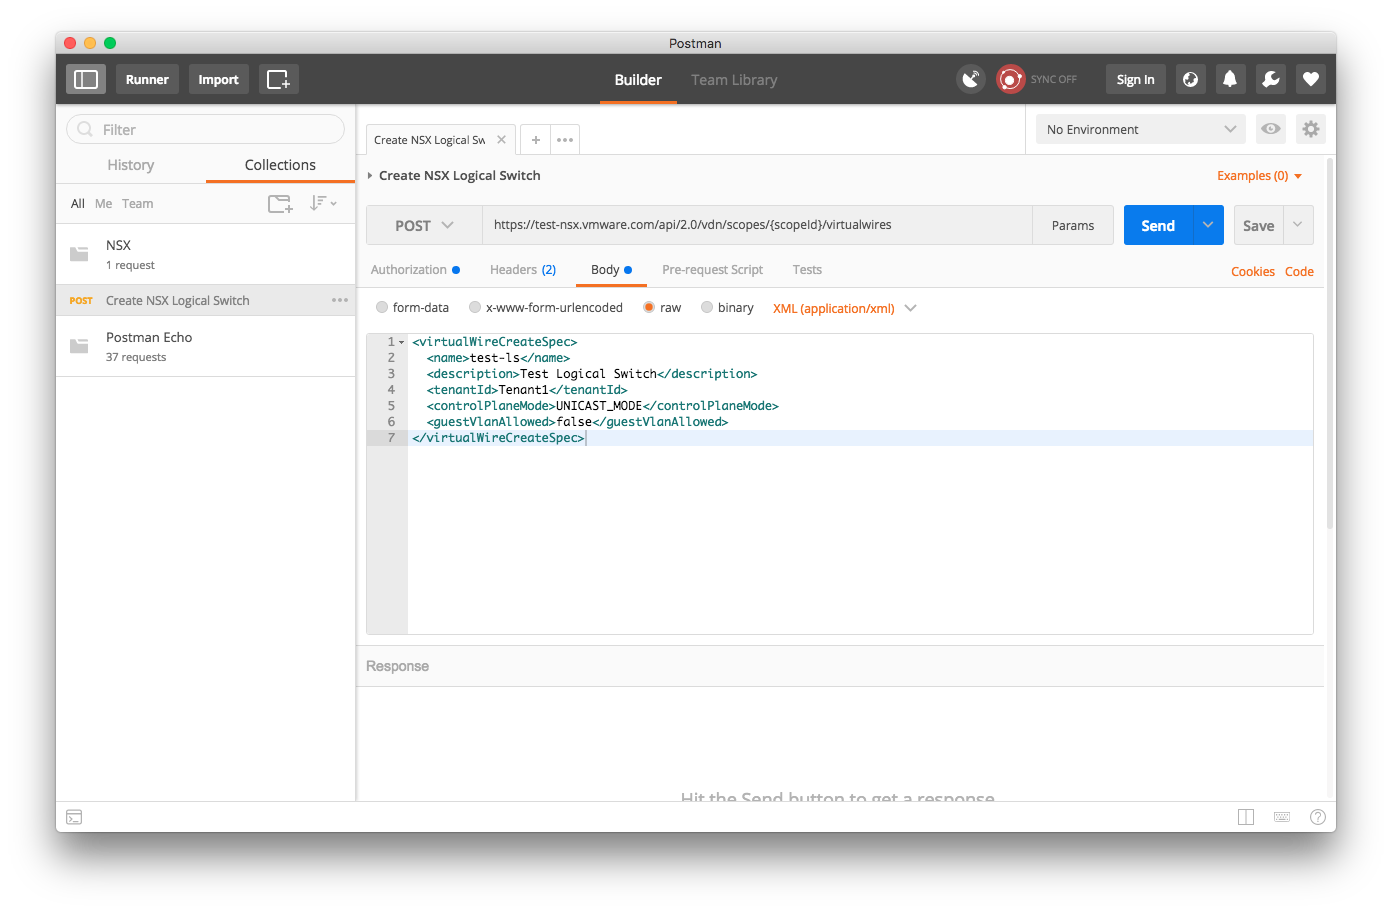
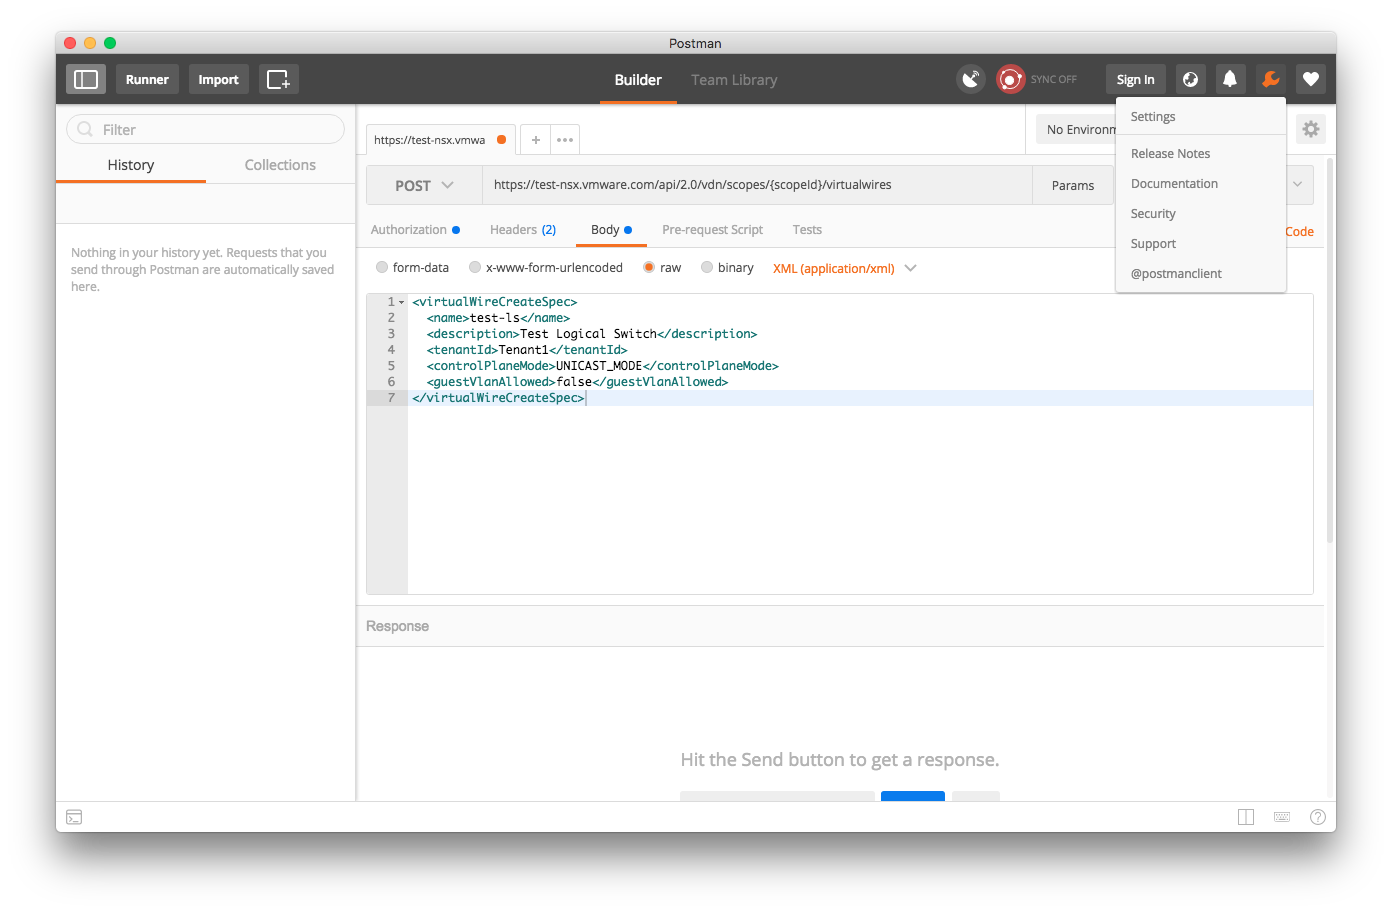
You craft your API call in the Builder tab, which is the first screen you see after launching the app. You will notice right away there are options for setting the 3 main parts of an API call to a network device (URL, Headers, and Body). For more on the structure of an API call, see my post on Getting Started with APIs for Network Engineers, which includes an example using Postman to configure an NSX Logical Switch.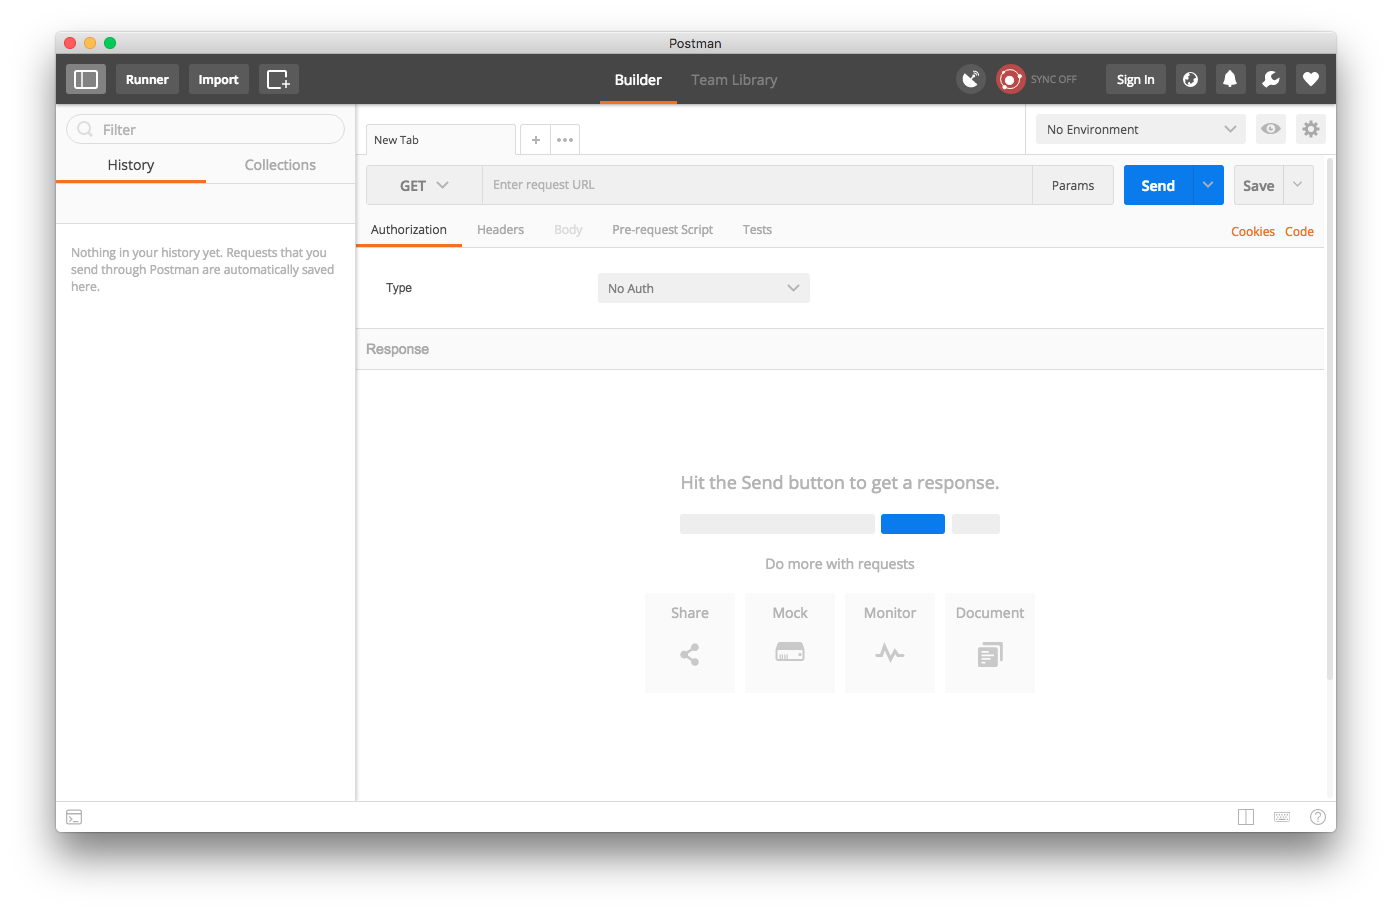
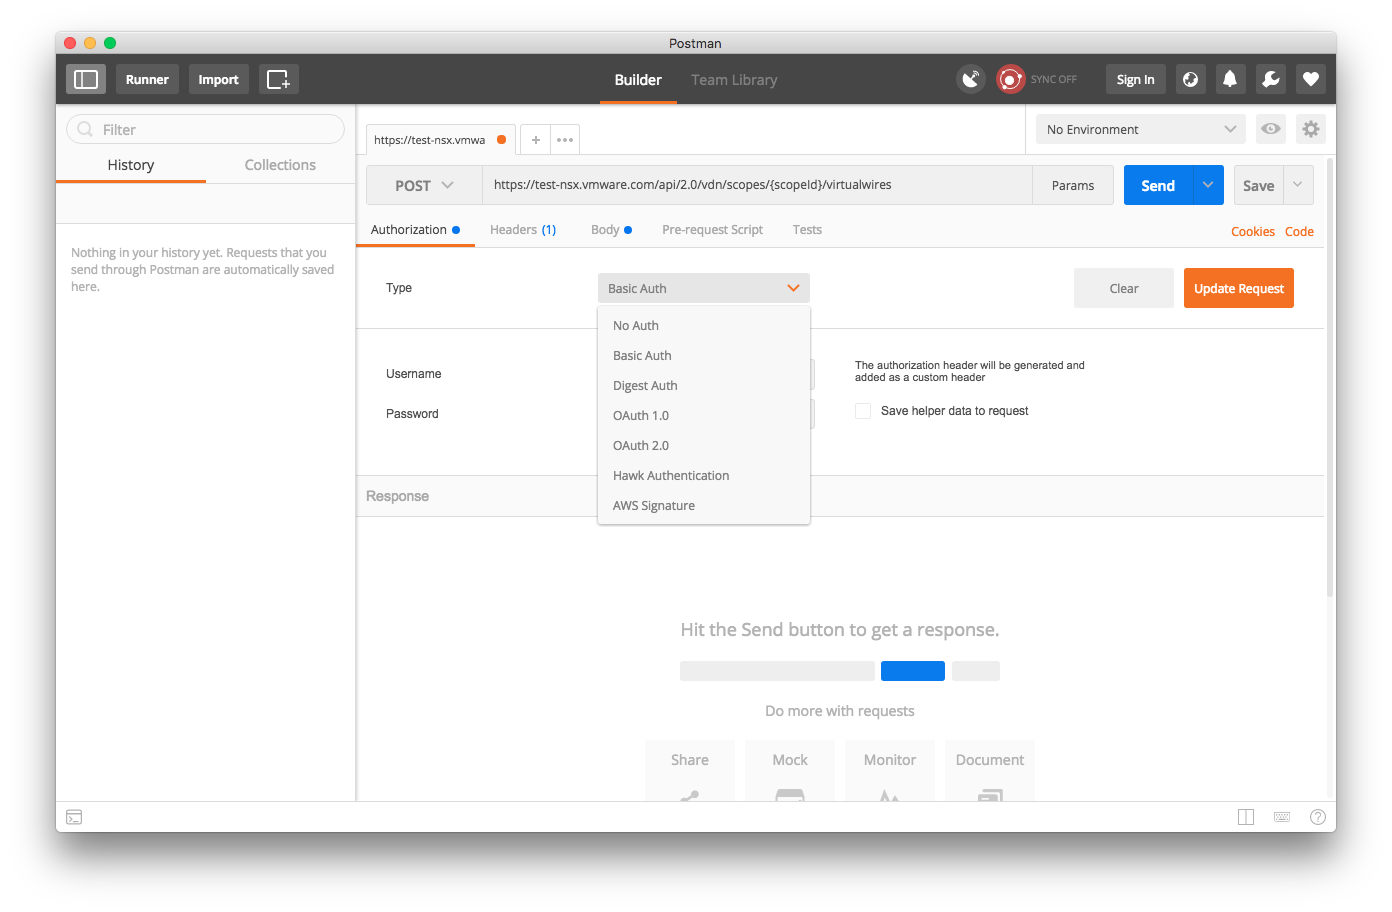
The Authorization tab allows you to enter the authentication type, username, and password. For more detail on the authentication type your device uses, have a look at the API documentation. For my example I select Basic Auth, provide my login details, then press the Update Request button. This adds the authorization header to my Headers tab.
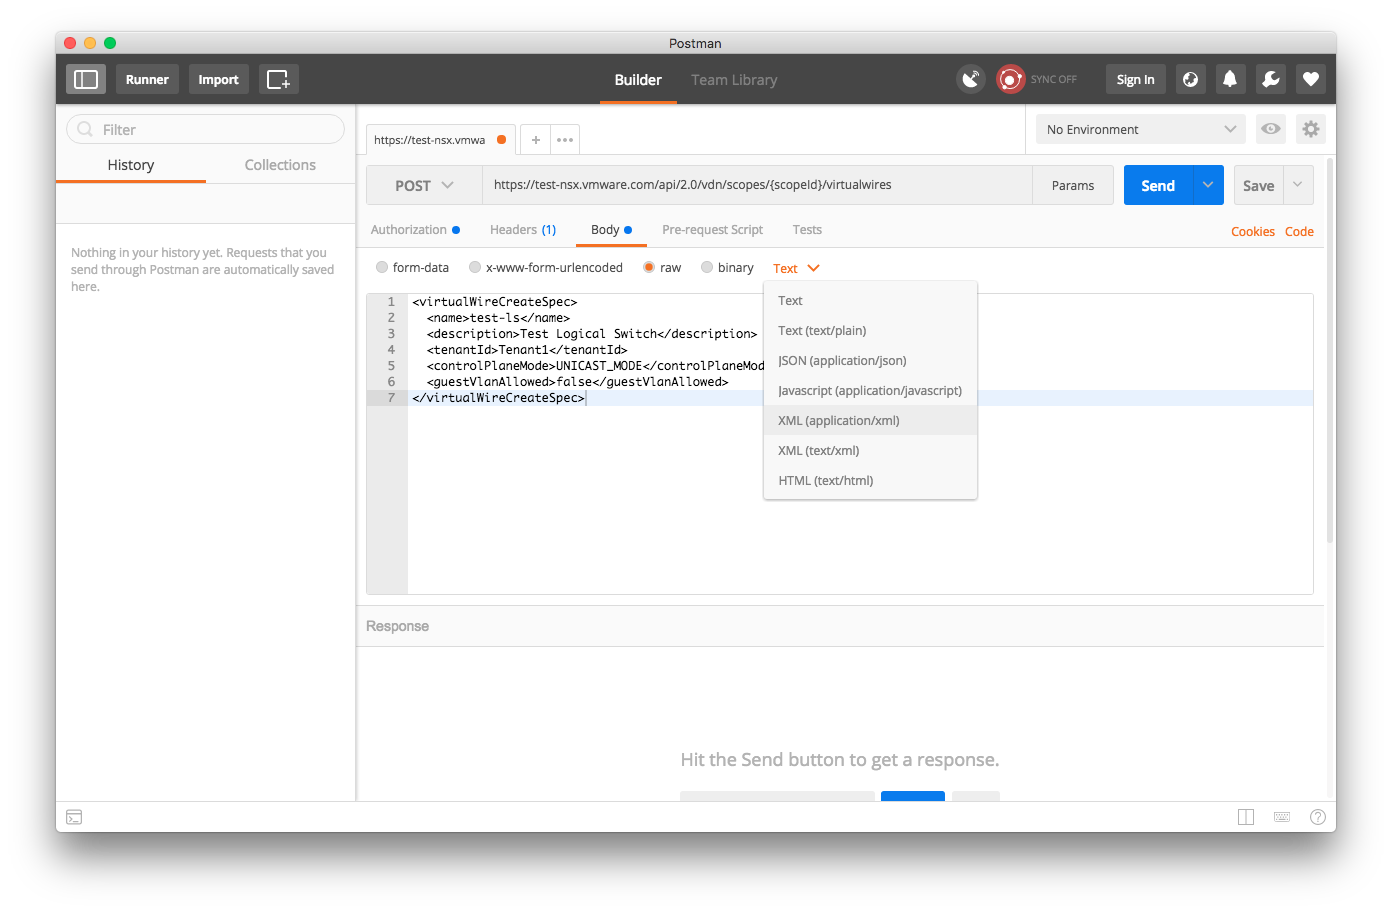
If your API is a GET to obtain information only, you can use the Send button to makeyour request. If you are using a PUT or POST method to make a change, you will likely need to make some updates to the Body tab. This is another case where you need to reference the API documentation for your device, where you should find the format for the body, and the Content-type you will need to use. In this case, I use an XML formatted body, and will select the application/xml option from the dropdown. Selecting application/xml automatically adds the Content-type header to my Headers tab.
Working with Certificates
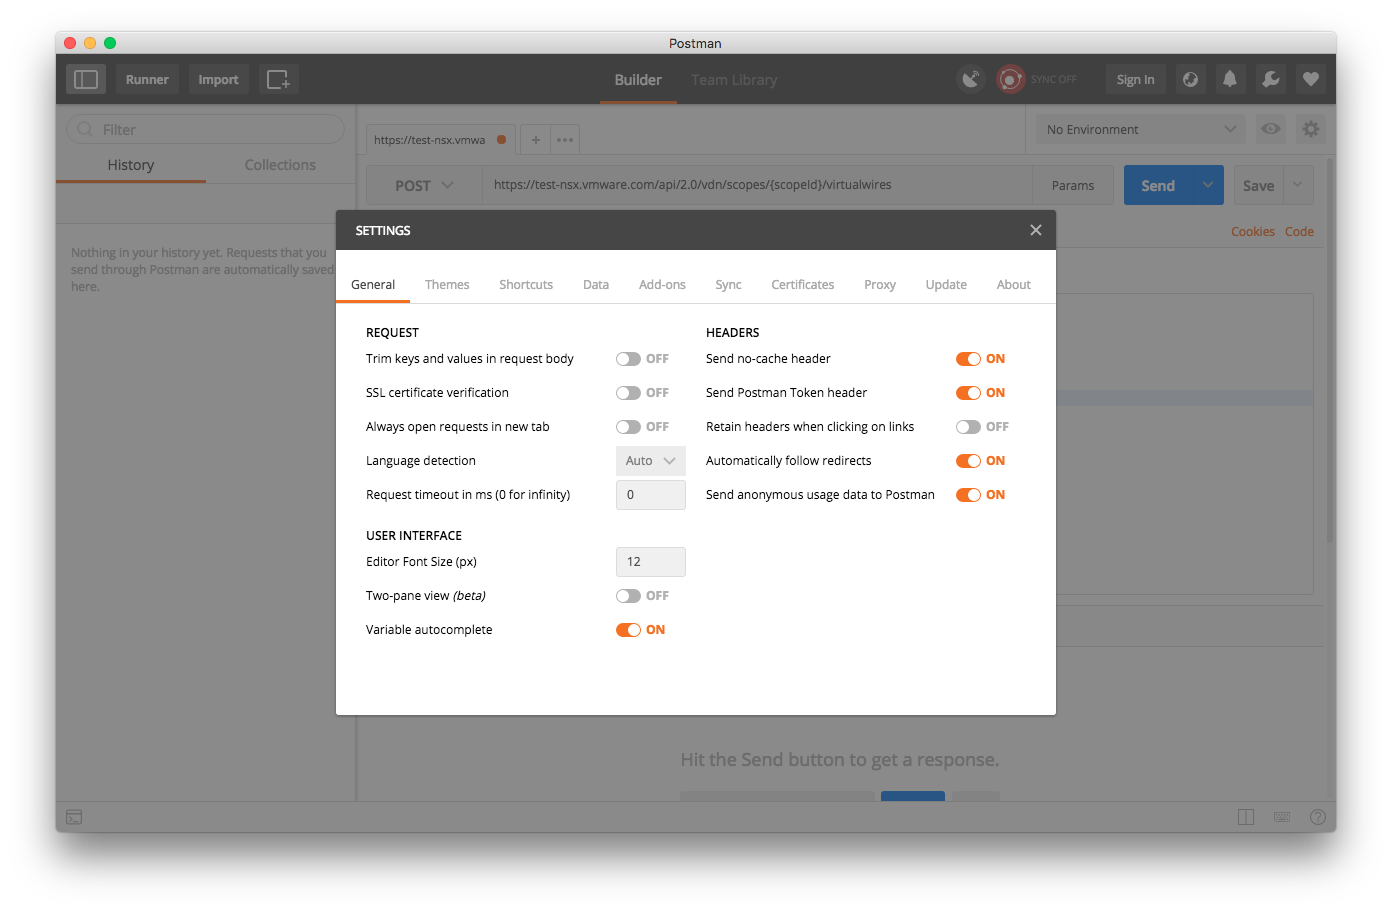
If you chose to go with the Chrome App version of Postman, check out this blog post for how to install and trust certs for your OS. If you are using the native app, you have the option to disable certificate checking. Just go to the settings, and move the slider for “SSL certificate verification” to OFF. Fair warning, if you do this you are intentionally skirting the security benefits of certificate checking – use it wisely.
Reusing API calls
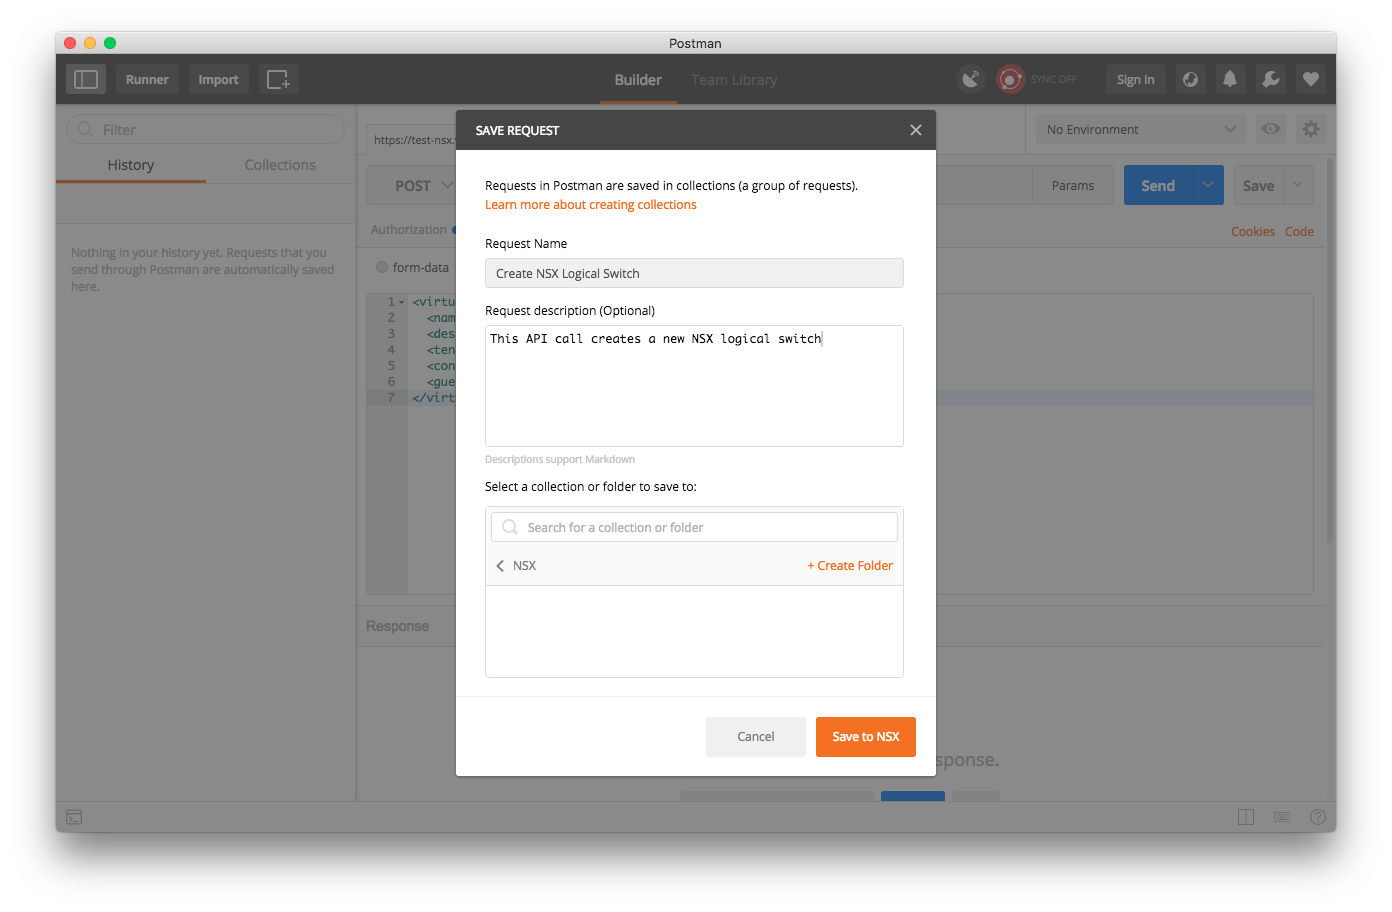
If you’re like me you spend some time figuring out how to collect some information via API call, then when you need it again a month later, you forgot what you did last time and end up starting from scratch. Postman gives you the ability to save your API calls so you can come back and use them again later. Click the Save button and provide some descriptive information about your API call. Postman allows you to save calls to Collections, or groupings of related API calls. To start, it might be useful to save API calls by device (i.e. NSX, Cisco, Arista) and that may involve to API calls saved and grouped by workflow.
You can view the collections you have created in the left hand sidebar: